Pipeline & Tools.
A collection of all the large pipeline tools I have developed. A variety of extensive pipeline tools have been utilized in multiple game projects, including Mime Scape and Through The Veil. These tools have been refined and enhanced over time to accommodate the needs of each new project.
VFX System.
Adding support for designers to manually create VFX was a crucial aspect of the Mime Scape game project. To achieve this, I developed a VFX system based on the Unreal Engine Niagara tool that our designers were most familiar with. Some of the features are:
Node-based manipulation of certain components
Functionality for total material manipulation
Rendered through the custom camera system.
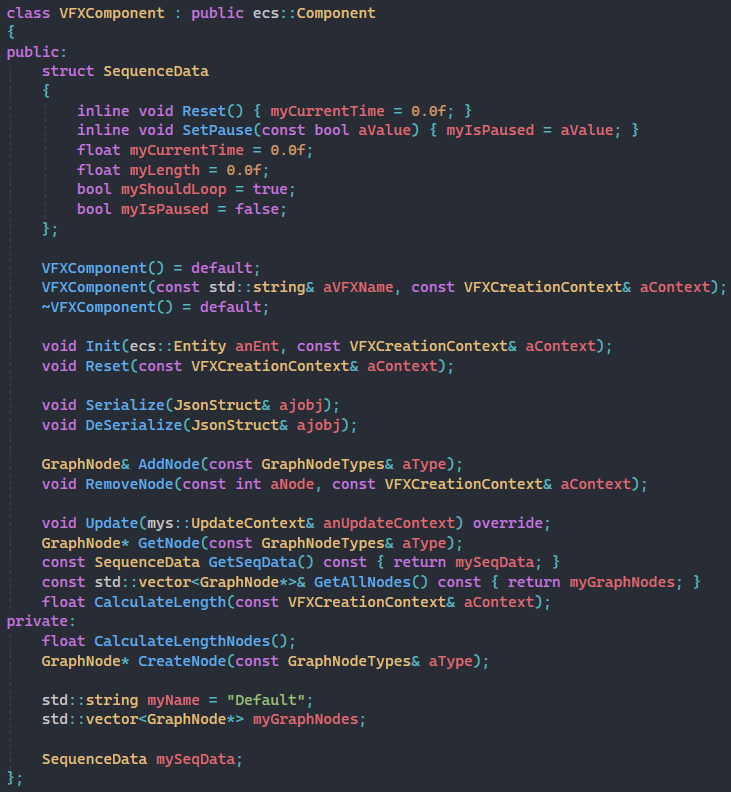
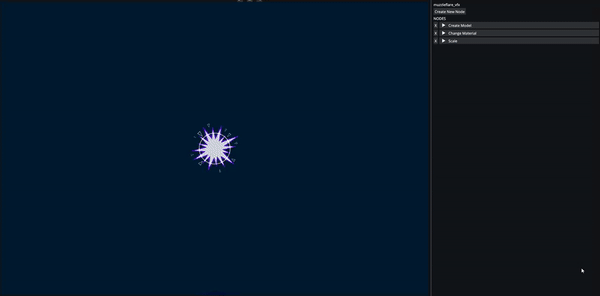
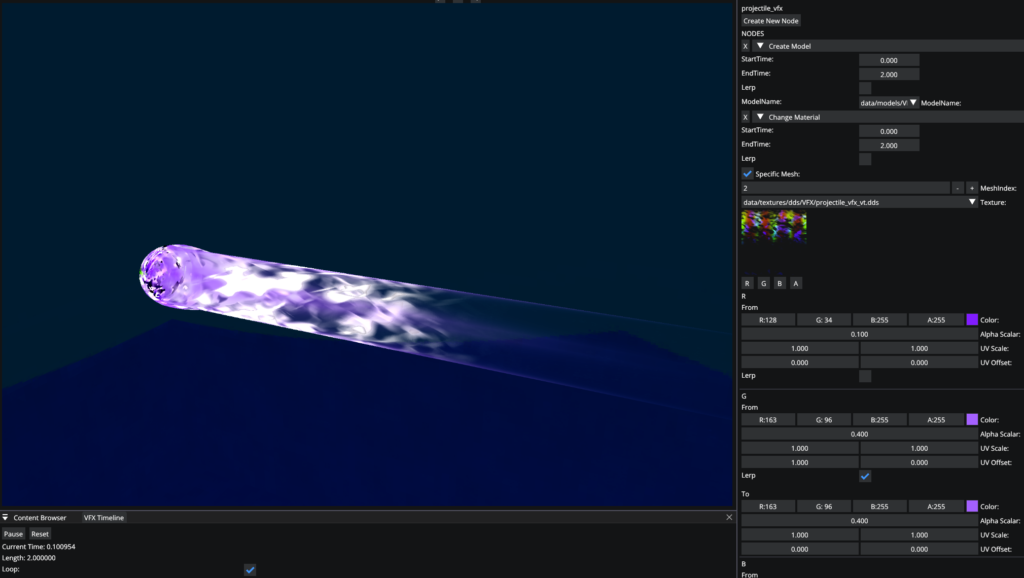
The Node System
At the beginning of the VFX system development, I recognized the need for offline instructions for executing components. This is where I came up with the idea to form the pipeline into a node-based system, which not only empowered the artists with new possibilities but also allowed me to expand the system’s capabilities as a programmer.
The system is made up of 3 major parts:
VFXComponent class
GraphNode struct
VFXEditor
The node system is based on the VFXComponent which acts like a puppet master for the entity. It has a vector with nodes, very similar to a component system. It handles all the creation, deletion, update, and serialization of all the nodes.
The Graph Node
The graph node is the template for creating all the nodes. It is a derivative class that all the other specific nodes derive from. The core functions of the graph nodes are Init, Update, and Reset. All these work together with the start and end time to make behavior over time very easy.


example of a node implementation
Mask System.
While working on the game Mime Scape, the artists expressed their need for a pipeline that would allow them to apply various mask textures on top of the existing material. Collaboratively, we devised a solution that streamlined their workflow, while preserving the engine’s architecture structure and performance.
Unity Component and Drag’n Drop Override
Engine and Unity shading to suit each other
Unity Custom prefab and scene re-masking to apply all the changes
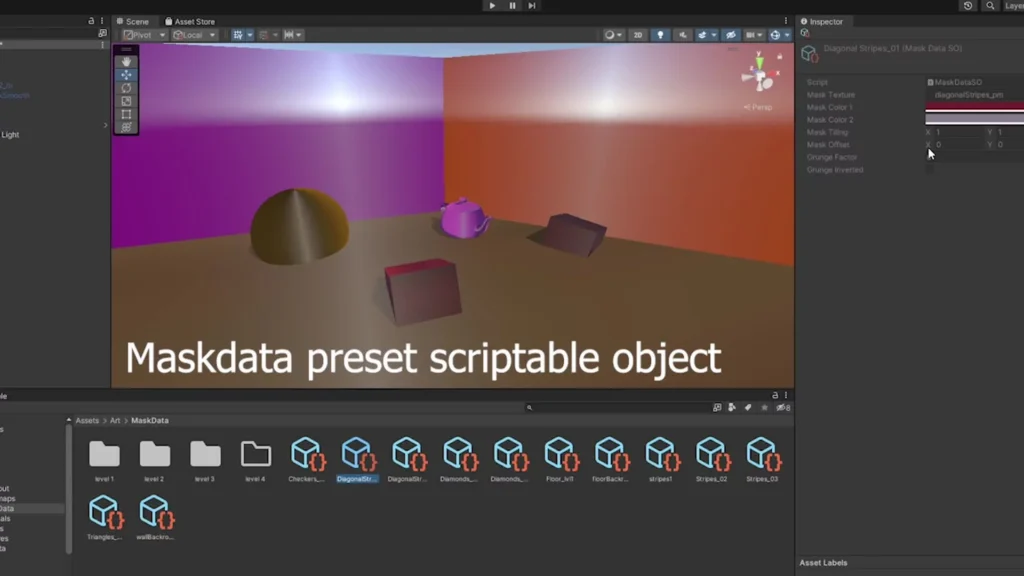
The System
To incorporate various patterns throughout the game, we needed an efficient approach that didn’t involve manual hand-painting into the albedo texture.
As a solution, we developed a mask system that seamlessly integrated into our engine and Unity, enabling real-time display of the masks for faster iterations. This approach proved to be much more manageable and efficient than hand-painting each pattern.
How it Works
By utilizing Unity, I was able to replace the default drag-and-drop feature and implement a custom editor for the MaskData component. This allowed me to receive editor callbacks when the component was added or removed. I integrated this functionality into my custom shader within Unity to accurately reflect how the assets would appear in the game engine. I also added the ability for mask data re-generation in both the scene and in prefabs. Additionally, saving MaskData as presets was made for rapid iteration.
Our artists also expressed a desire to include a grunge texture to be layered on top of the existing mask texture. As the requests for new graphical features continued to mount with each game project, I came to the realization that maintaining our rendering architecture was not sustainable. This led me to recall the Siggraph talk by Naughty Dog about their Uber Shaders, which served as the inspiration for our own implementation.

Grunge texture, which is used to create the grungy (fake rouaghness)

Grunge texture added to the mask texture with 2 different colos in each channel


Base texture used for the masking. By default one color for black, and one for white can be applied
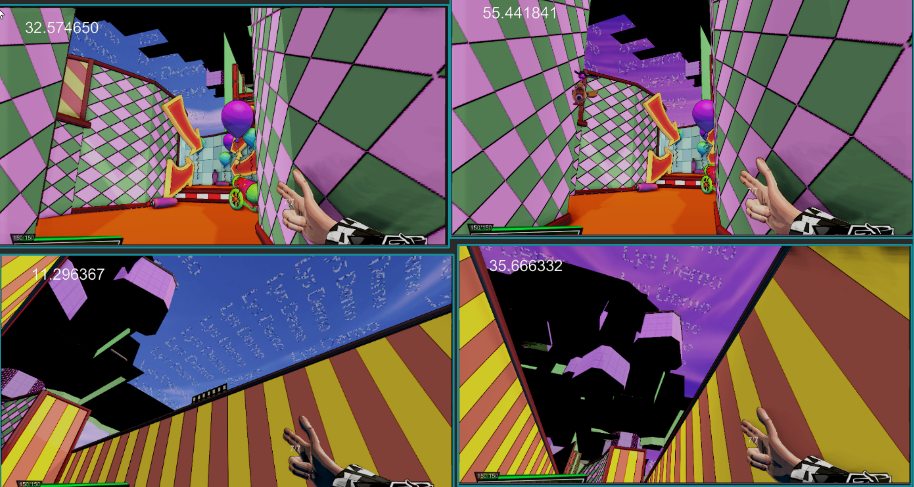
Particle Editor.
While working on previous projects, I came to appreciate the difficulty of creating sprite sheet animations and modifying data files by hand. As a result of these challenges, I developed a new system to streamline the process, namely the Particle Editor.
Custom saving tools to always ensure the emitters were saved even through a crash
Easy serialization, creation of emitter prefabs through scripts
Change Model and Material of each emitter
Velocity, force, acceleration mode (default/burst/damp)
Optional Billboarded and soft particles with depth and camera fade.
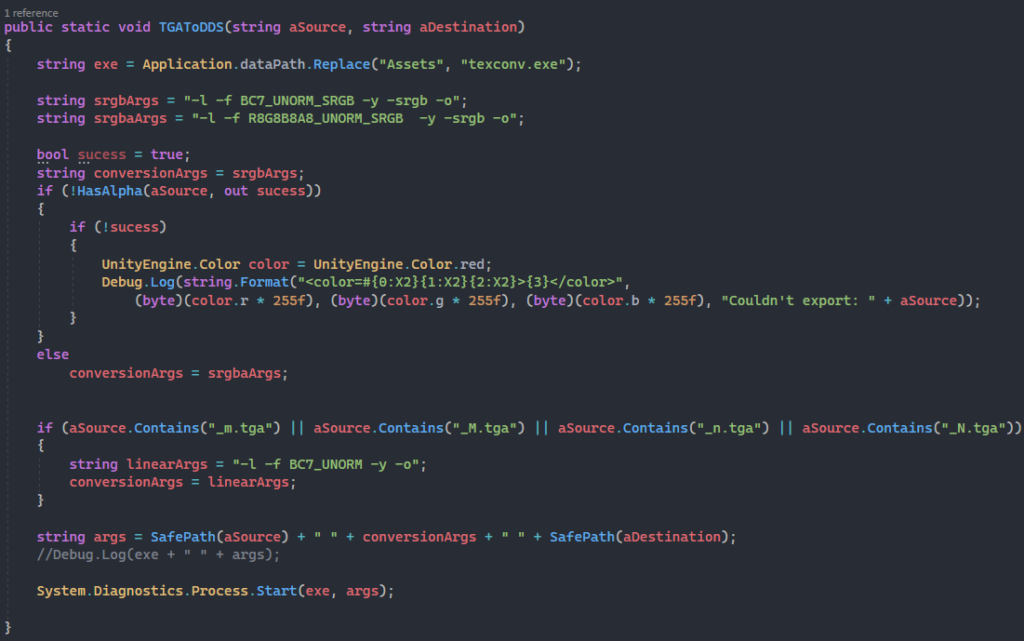
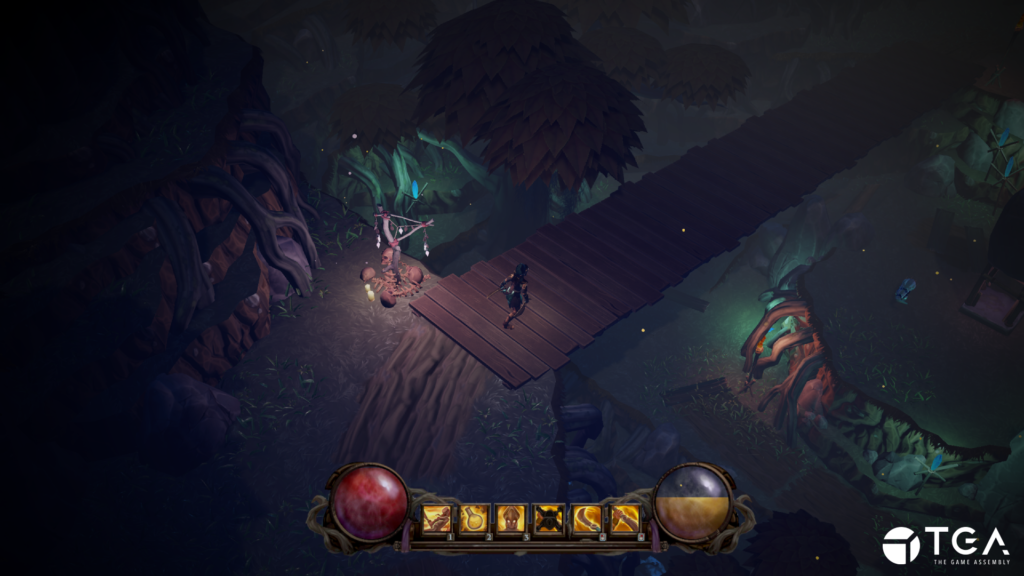
Unity Auto Texture Export.
In the development of Through The Veil, the presence of numerous transparent objects posed a challenge as they needed to be sorted accordingly. While some teams relied on manual checks by artists for each mesh, I sought a more efficient solution.
To streamline the process, I devised a method when exporting our .tga textures from Unity to engine .dds format, ensuring that transparent objects were correctly identified without manual intervention.
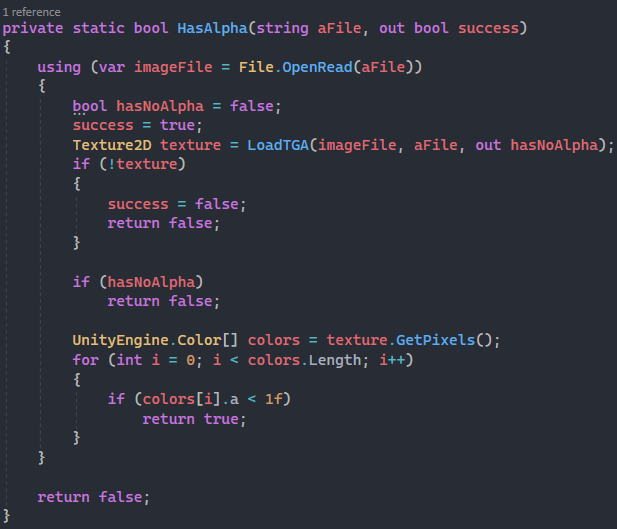
Alpha Lookup
We had already implemented support for exporting from .tga to .dds by invoking the DirectX texconv.exe application with specific arguments set by a colleague, Adam Rohdin.
While experimenting with importing .dds textures in the engine, I discovered that certain flags indicating the presence of alpha channels were not being updated correctly during our export process. To expedite the workflow, I devised a brute-force solution that involved reading each texel of the texture to check for alpha.
To implement this, I expanded upon the export functionality and added the ability to open and analyze the texture data. Surprisingly, the wait time for this process was not as significant as expected, since we only export textures that have not already been exported.
Despite the fact that my solution may not be the most elegant, I am proud of the outcome, as our team was the only one across multiple projects that did not encounter nearly as many alpha-related issues.